Hello everyone!
Did you remember my Glove card last time I've shown you? Today I'm going to explain you how to make this easy but very attractive Poinsettia Flowers which is at about 7 cm, suitable for any Christmas project.

First of all I made my templates which look like those shown on the picture. You also can use Rosy Owl Poinsettia flower set.
The larger five-petals template is 8 cm diameter circumference and smaller one is 6.5 cm.

Next, I cut two larger and one small petals out of red regular foamiran.

After that started shaping them in the way shown:
Heated every each petal...


and pushed it with the middle size ball from the Flower Making Tools.

After shaping all of them five, I gently twisted their edges like that:

My petals got those shape at the front side,


and that, at the back side.

I assembled the petals overlapping, started from the biggest one and finished with the smallest one at the top :


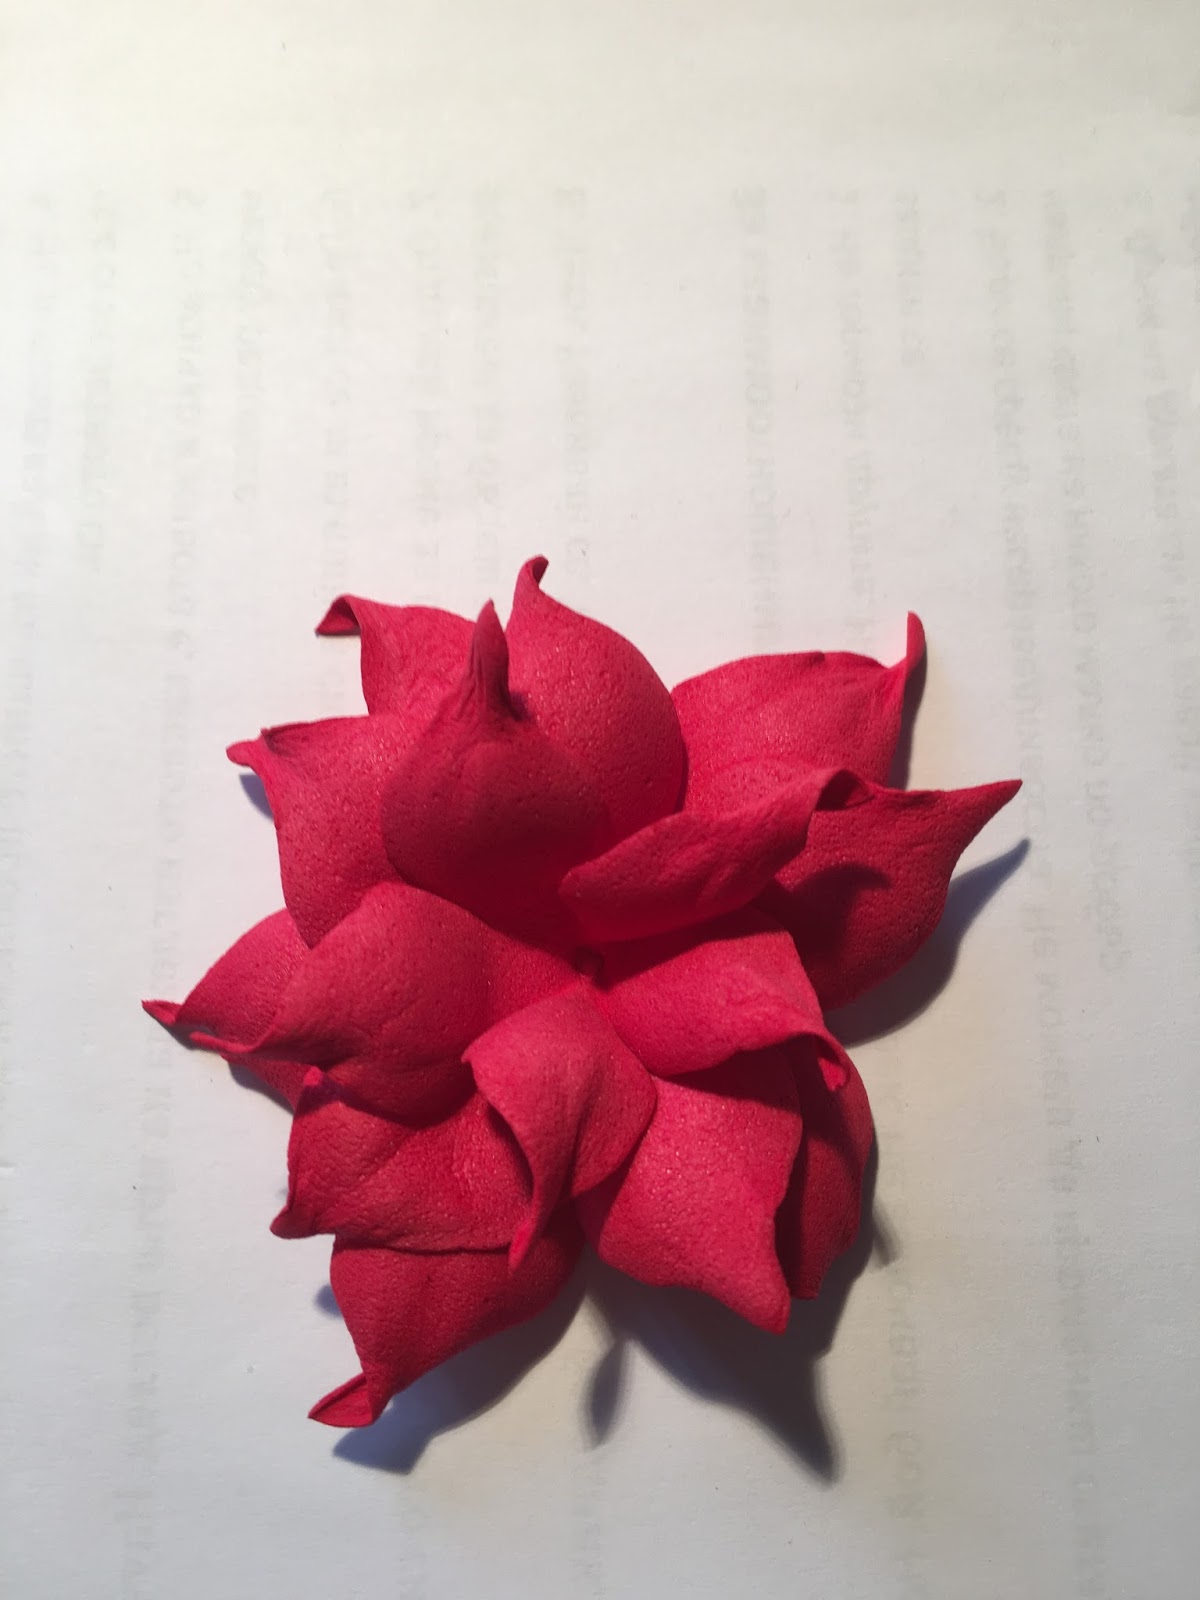
It was time to attach the stamens. I chose Heard Head Olive Stamens (at about 7 double head in a bunch) which I folded with a piece of florist wire.

I dyed them with bright green oil pastel and infixed them in the previously punched a little hole in the middle of the flower.


Cut the stamens edges, glued them at the back side of the flower, then my flower was completed.

There are some more of my beautiful Red Poinsettias!


Have a lovely week for all of you!
Hugs,
Elena xxx
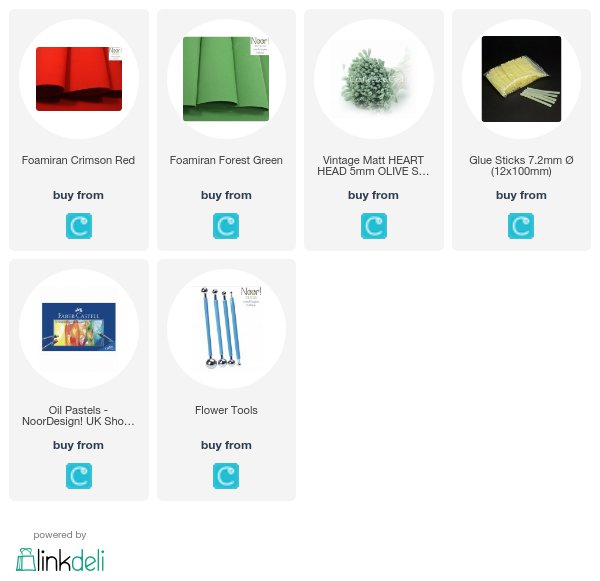
The products used can be ordered in the Noor! Design U.K. webshop:


No comments:
Post a Comment